Each winter, colds and flu spread through every household, leaving many people hoping to prevent illness or feel better more quickly. Rich in antioxidants and vitamin C, elderberries have been used for thousands of years as a traditional remedy to help boost the immune system and ease cold and flu symptoms, and they are enjoyed by both adults and children.
As more people explore natural approaches to wellness, the alternative supplement market has grown rapidly. Elderberry products are now highly prized in health food stores, yet one of the most popular options—elderberry syrup—is simple to make at home.
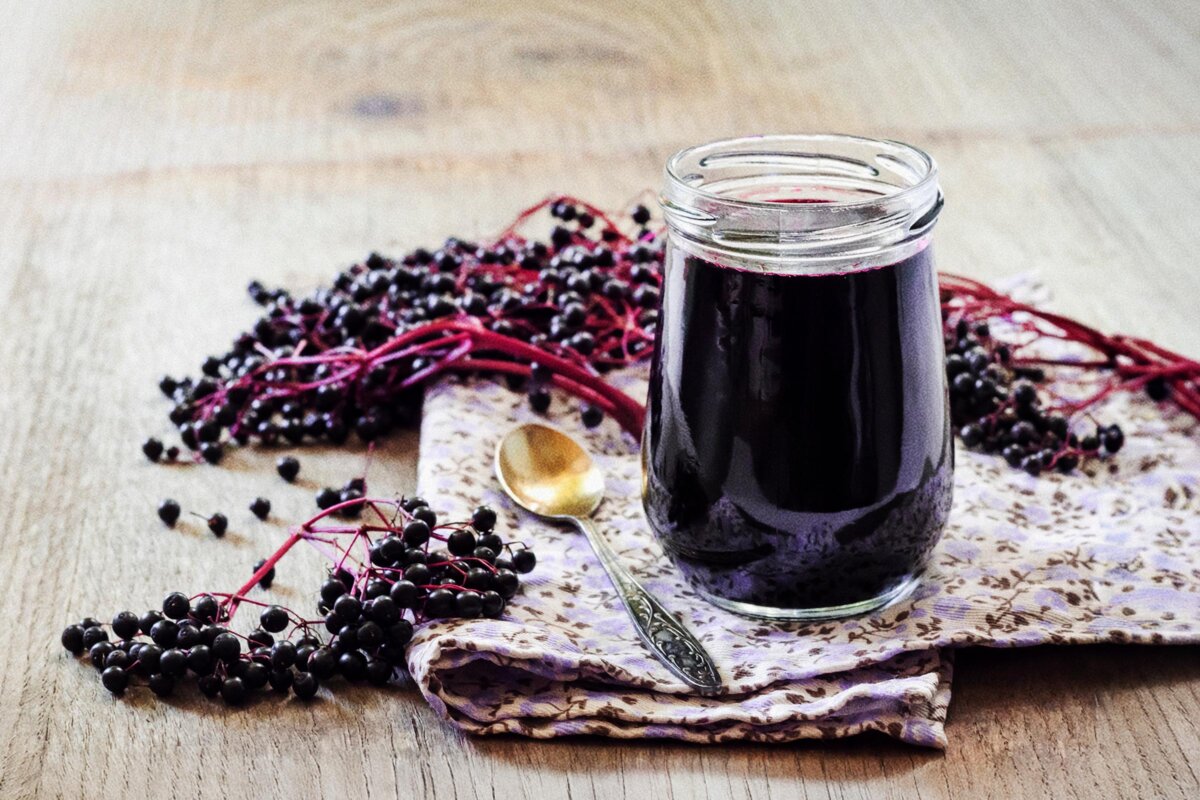
The Elderberry
Once a little-known wild plant growing along forest edges and open fields, elderberries have quickly become one of the most popular ingredients in the natural wellness world. Today, elderberries make up 18.9 percent of the entire herbal supplement market, and sales of elderberry syrup alone are projected to reach $3.42 billion by 2035.
Despite their rise in popularity, elderberries come with one important caveat: never eat them raw. The berries contain naturally occurring compounds called cyanogenic glycosides, which can release small amounts of cyanide when eaten raw. Eating uncooked elderberries may lead to stomach upset, cramps, nausea, or vomiting.
Properly cooking the berries breaks down these poisonous compounds and makes the fruit safe to eat.
The Health Benefits of Elderberries
Elderberries are known for their high concentration of antioxidants, which help protect cells from everyday stress. Their deep, purple color comes from anthocyanins, powerful pigments that support immune health and help the body respond to inflammation. Elderberries also contain one of the highest anthocyanin levels among berries, and even after cooking, studies show that about 70 percent of this antioxidant activity remains.
In addition to anthocyanins, elderberries provide flavanols such as quercetin and rutin, as well as vitamin C, fiber, and minerals. These naturally occurring compounds work together to support immune function by helping regulate inflammation, strengthening immune cells, and encouraging the growth of healthy gut bacteria. Research has found that elderberry syrup may help the immune system fight viruses and encourage the production of antibodies, which is why elderberry syrup has become a popular choice during cold and flu season.
Why Make Elderberry Syrup?
Making elderberry syrup at home gives you complete control over what goes into your remedy. You can choose your own organic ingredients, the level of sweetness, and the overall flavor. It’s often more affordable than buying pre-made products from grocery shelves, and you avoid fillers, preservatives, or added ingredients you may want to avoid for health reasons.
Homemade elderberry syrup is also simple to prepare, making it an easy first step for anyone interested in creating their own natural remedies. With just elderberries, water, honey or sugar, and a few warming spices, you can create a syrup that suits your taste and your wellness routine.
Beyond its practical benefits, homemade elderberry syrup makes a thoughtful, seasonal gift—something personal, useful, and handcrafted for family and friends during the colder months.
How to Make Elderberry Syrup
Elderberry syrup can be made with either fresh, frozen, or dried berries, and the process can be both simple and enjoyable. You can harvest fresh berries from your garden, wildcraft them, or buy them in stores during late summer and early fall. Dried or frozen elderberries are often available year-round in most health food stores and online.
If you harvest your own berries, be sure to use only ripe ones. Discard any green or slightly red berries and choose the dark reddish-purple clusters that are heavy with juice.
Ingredients:
- 2 cups fresh or frozen elderberries (or 1 to 1 1/2 cups dried elderberries)
- Water (enough to cover the berries in the pot)
- 1 1/2 cups sugar (adjust based on the amount of extracted juice)
- Optional sugar substitution: 1/2 to 3/4 cup raw honey (added only after the cooked juice cools slightly)
- 1 lemon, juiced
Optional Spices:
1 to 2 tablespoons fresh, grated ginger root
1/2 to 1 teaspoon powdered cinnamon
1/4 to 1/2 teaspoon powdered cloves
These spices will deepen the earthy flavor of the elderberries and add subtle warmth to the finished syrup.
Instructions:
- Rinse the elderberries gently and remove any stems or debris. that may be present. (Skip rinsing if using dried berries.)
- Combine the berries and optional spices in a medium saucepan.
- Add enough water to cover the berries. Cover the pot, bring to a boil, then reduce the heat and simmer for about five minutes (or 10 minutes if using dried berries).
- Strain the mixture through a cheesecloth-lined colander into a clean pot, pressing the berries with a wooden spatula to extract all the juice.
- Measure the liquid and add an equal amount of sugar. For example, use two cups of sugar for two cups of juice.
- Return the mixture to the stove and bring to a gentle boil. Simmer for about 10 minutes, stirring frequently until the sugar dissolves.
- Stir in the lemon juice.
- Pour the syrup into sterilized amber glass bottles or jars while it is still hot—around 180 F to 190 F. Seal tightly and allow the bottles to cool completely.
- Store unopened bottles of syrup in a cool, dark place for several months. Refrigerate after opening and use within one month. Check periodically for any signs of mold and discard it if you notice any.
Note: To use raw honey instead of sugar, allow the cooked elderberry juice to cool slightly until warm—but not hot—so the honey mixes smoothly without boiling and losing its natural health benefits. Use 1/2 to 3/4 cup raw honey for every one cup of sugar you would normally add.
If giving the syrup to young children under 1, use sugar instead of honey for safety.
How to Use:
The finished syrup is a delight whether served warm or chilled. You can enjoy it straight from the spoon or mix it into tea, sparkling water, smoothies, or even coffee for a flavorful immune boost.
Elderberry syrup also makes a colorful and healthy topping for yogurt, pancakes, fruit bowls, or ice cream –there are no limits to your culinary creativity.
Depending on your taste, use one teaspoon to one tablespoon in a drink or up to three tablespoons over your favorite dessert.
During active infection, adults can take one to two teaspoons of elderberry syrup straight from the spoon, three to four times daily. Children can take half of that amount.
For daily prevention, adults can take the children’s dosage, and children can take half of that.
With a bit of learning, experimentation, and confidence, making your own elderberry syrup can be a rewarding, cost-effective, and delicious alternative to store-bought options. Making your own natural products is a meaningful way to support your health—and your family’s—throughout the colder months.
Disclaimer:
This article is for informational purposes only and is not a substitute for professional medical advice.
If you have ideas or questions about herbalism, health, or gardening that spark your curiosity, leave a comment and let us know what you’d like us to explore next.